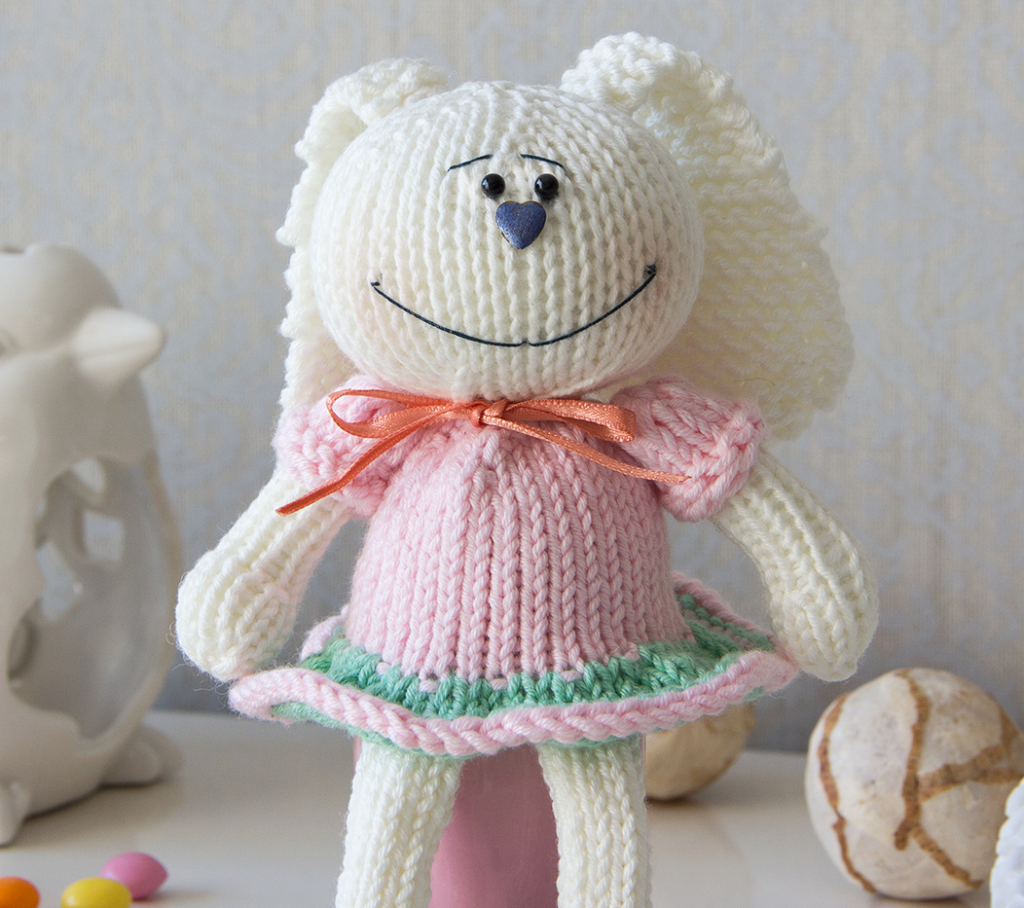
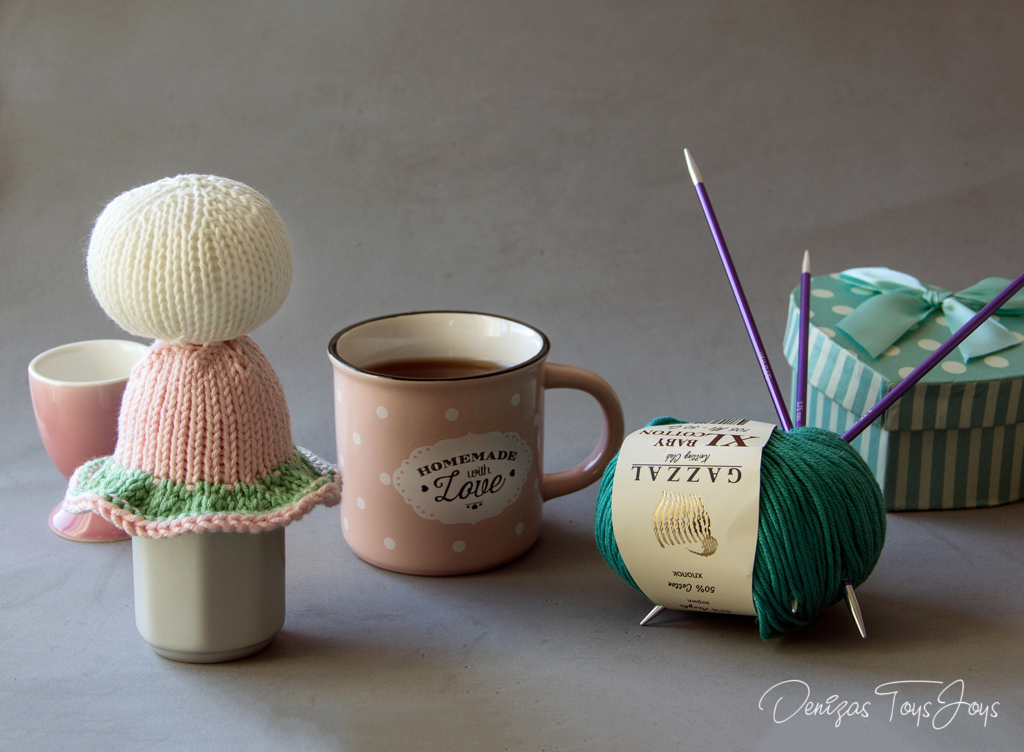
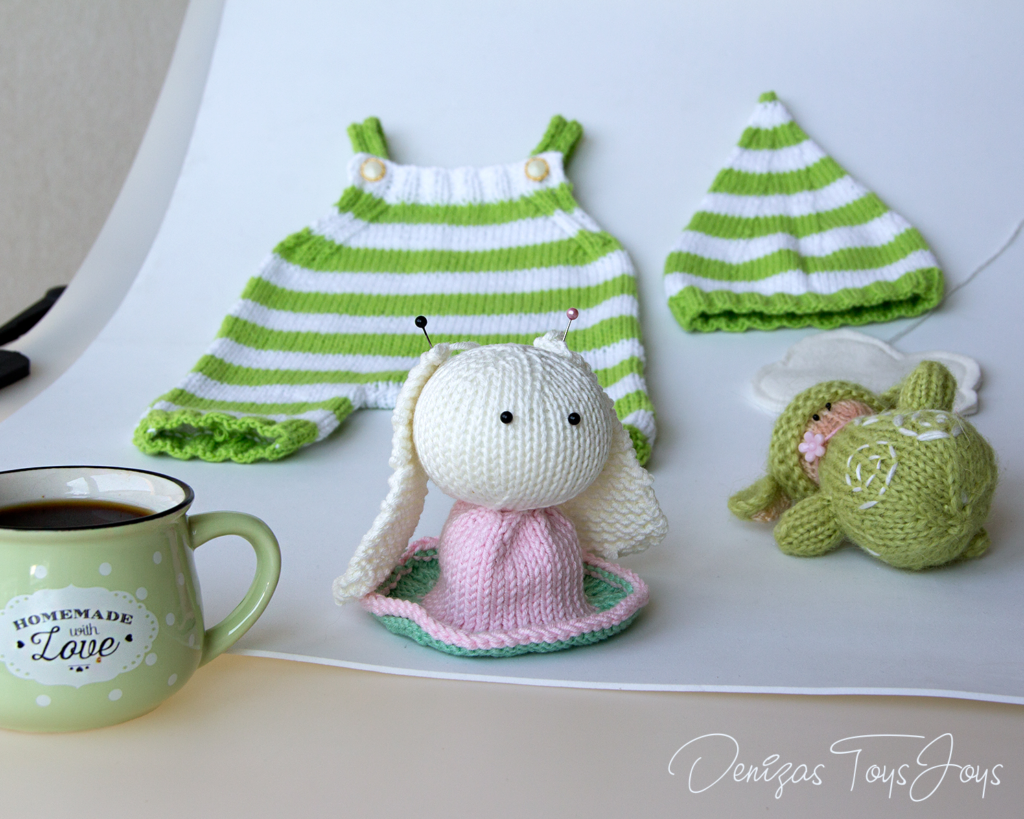
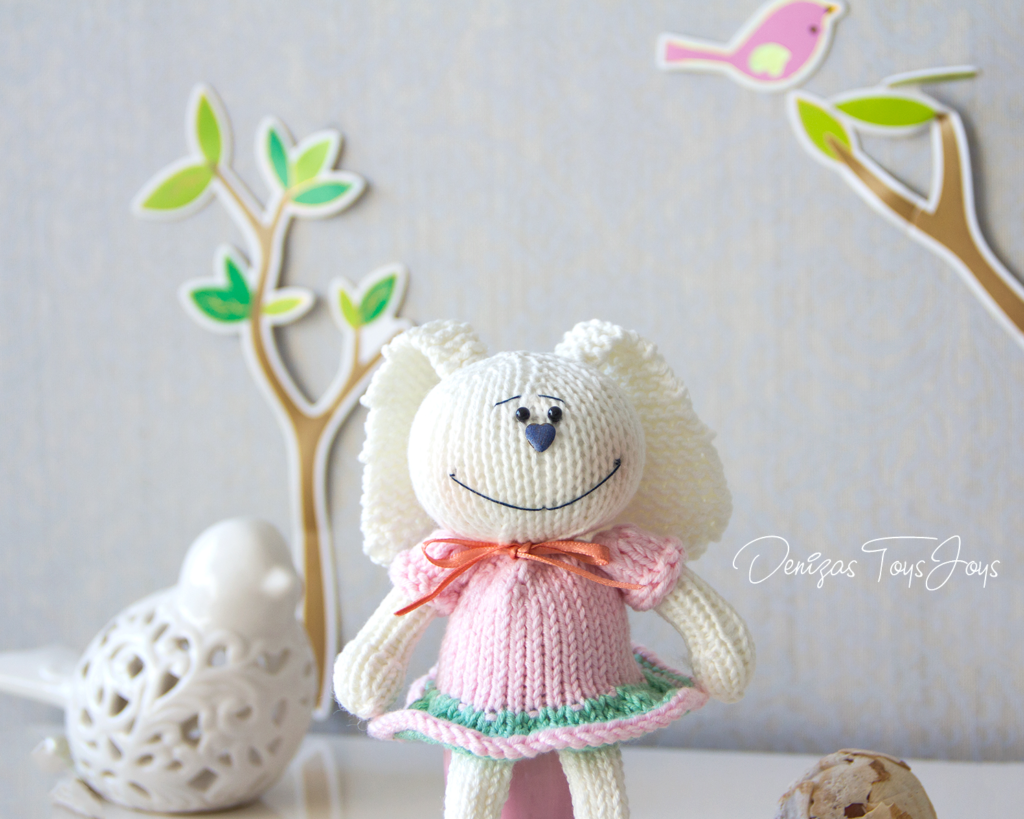
Super sweet amigurumi easter bunny is ready to keep your breakfast eggs warm! The toy is knitted in the round; so it is basically recommended for advanced beginner knitters.
Just so you know, the creator of this lovely amigurumi bunny is my super talented friend Tatyana. Her knitting and crochet projects are unbelievably beautiful and worth to see. You’ll find the link to her Instagram page at the bottom.
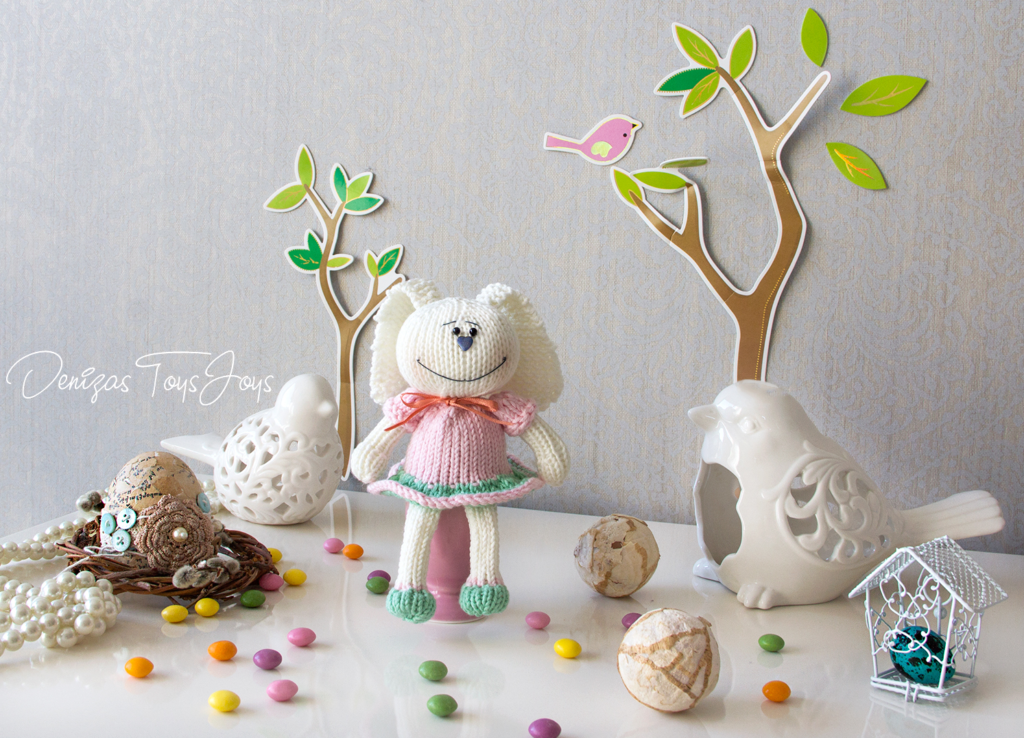
The finished bunny is approximately 14 cm tall.
Abbreviations
K = knit
P = purl
Sts = stitches
Kfb = knit into front and back of stitch
K2tog = knit 2 together
CO = cast on
RND = round
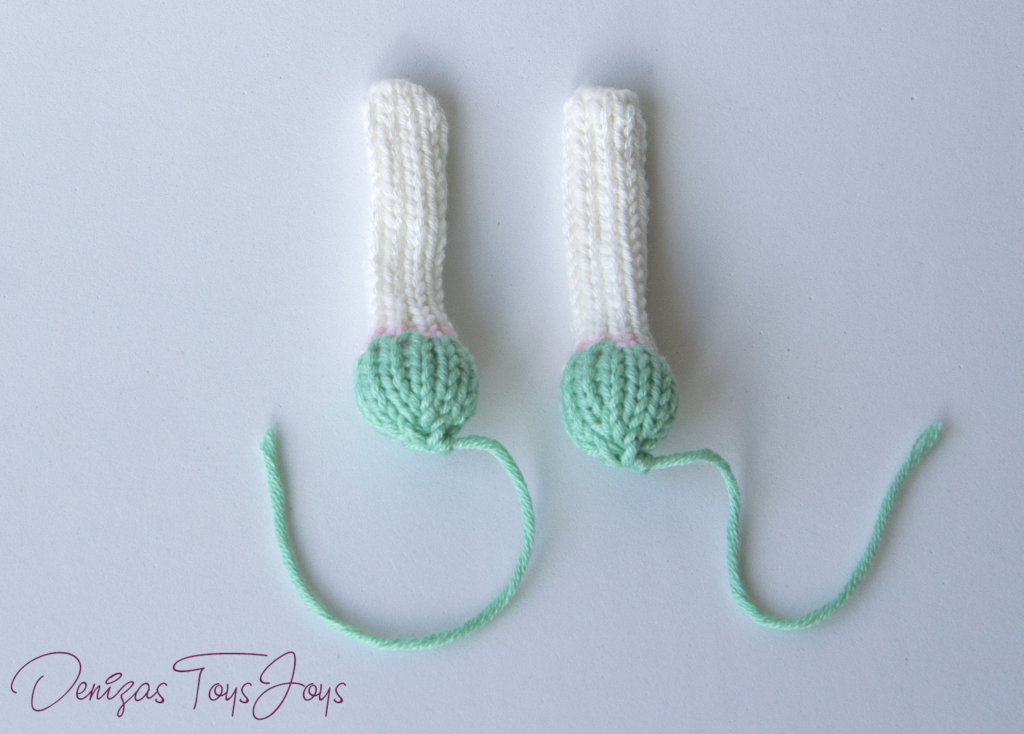
Body
Body and head becomes one piece.
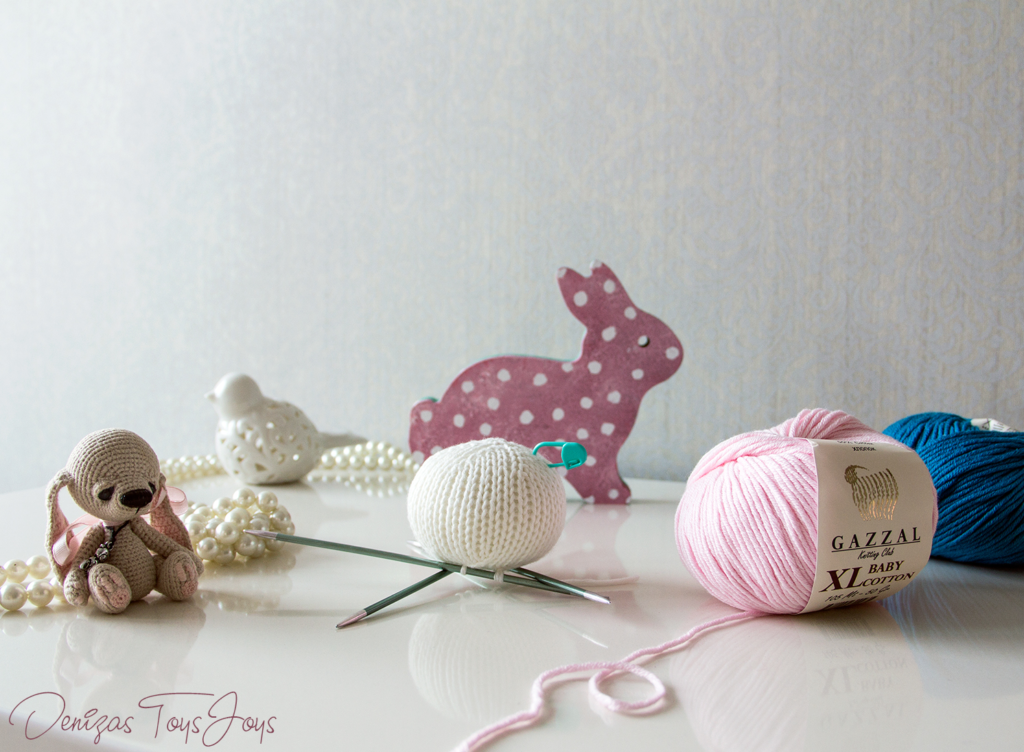
Start with the white yarn.
Cast on 6 stitches. Distribute among 3 needles and join to work in the round, being careful not to twist sts. Place marker.
RND1: Kfb (6 times) (12 sts)
RND2: Kfb, K1 (6 times) (18 sts)
RND3: Kfb, K2 (6 times) (24 sts)
RND4:Kfb, K3 (6 times) (30 sts)
RND5: Kfb, K4 (6 times) (36 sts)
RND6-16: 11Rnds K all (36 sts)
RND17: K2tog, K4 (6 times) (30 sts)
RND18: K2tog, K3 (6 times) (24 sts)
Work decrease rounds, add stuffing as you go.
RND19: K2tog, K2 (6 times) (18 sts)
RND20: K2tog, K1 (6 times) (12 sts)
Shaping the neck
RND21: K2tog (6 times) (6 sts)
Add more stuffing if required.
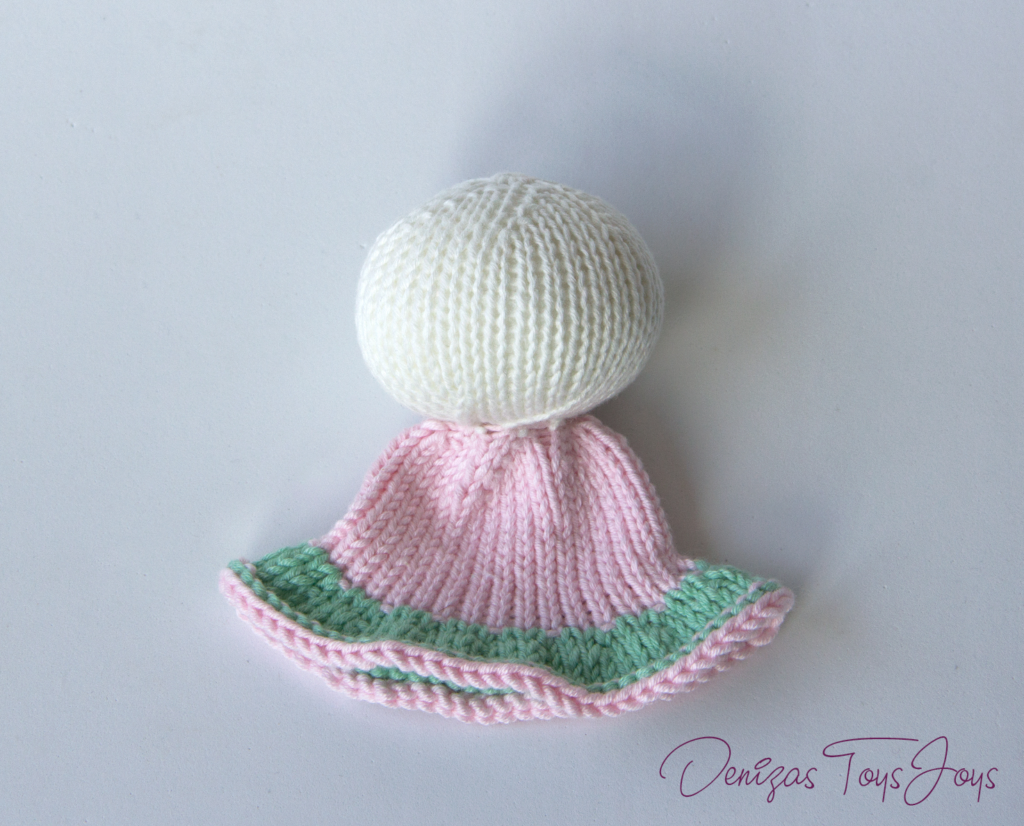
Change color to pink.
RND22: Kfb (6 times) (12 sts)
RND23: Kfb, K1 (6 times) (18 sts)
RND24: Kfb, K2 (6 times) (24 sts)
RND25:Kfb, K3 (6 times) (30 sts)
RND26: K all (30 sts)
RND27: Kfb, K9 (3 times) (33 sts)
RND28-39: 12Rnds K all (33 sts)
Change yarn to green.
RND40: (Kfb, K1) 16times; Kfb (50 sts)
RND41: K all (50 sts)
RND42: (Kfb, K2) 16times; Kfb, K1 (67 sts)
RND43-45: 3 Rnds K all (67 sts)
Change color to pink.
RND46: P all (67 sts)
Bind off.
Arms (make 2 pieces)
Knitted with white yarn.
Cast on 6 stitches. Distribute between 3 needles and join to work in the round, being careful not to twist sts. Place marker.
RND1-12: 12 Rnds K all (6 sts)
RND13: Kfb, K1 (3 times) (9 sts)
RND14-17: 4 Rnds K all (9 sts)
Work decrease rounds, adding stuffing as you go.
RND18: K2tog, K1 (3times) (6 sts)
Cut yarn and thread through 6 remaining sts (add more stuffing if required). Weave in ends.
Sleeves (make 2 pieces)
Knitted with pink yarn.
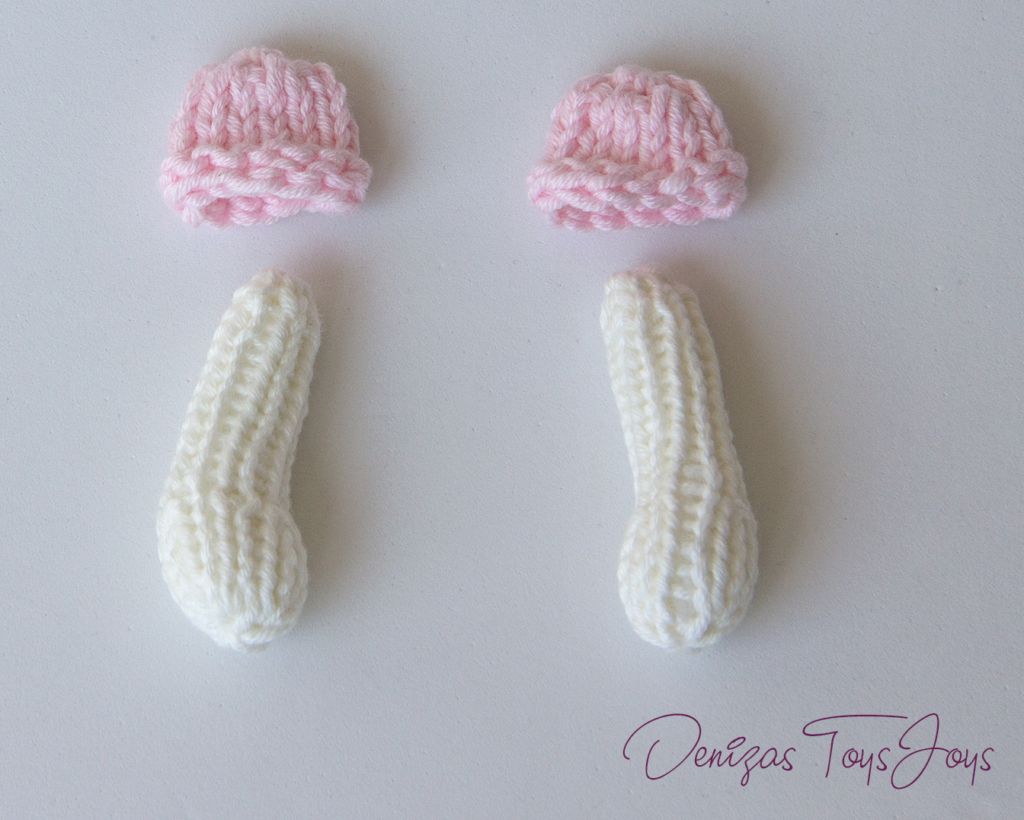
Cast on 6 stitches. Distribute between 3 needles and join to work in the round, being careful not to twist sts. Place marker.
RND1: Kfb (6times) (12 sts)
RND2-5: 4 Rnds K all (12 sts)
RND6: P all (12 sts)
Bind off.
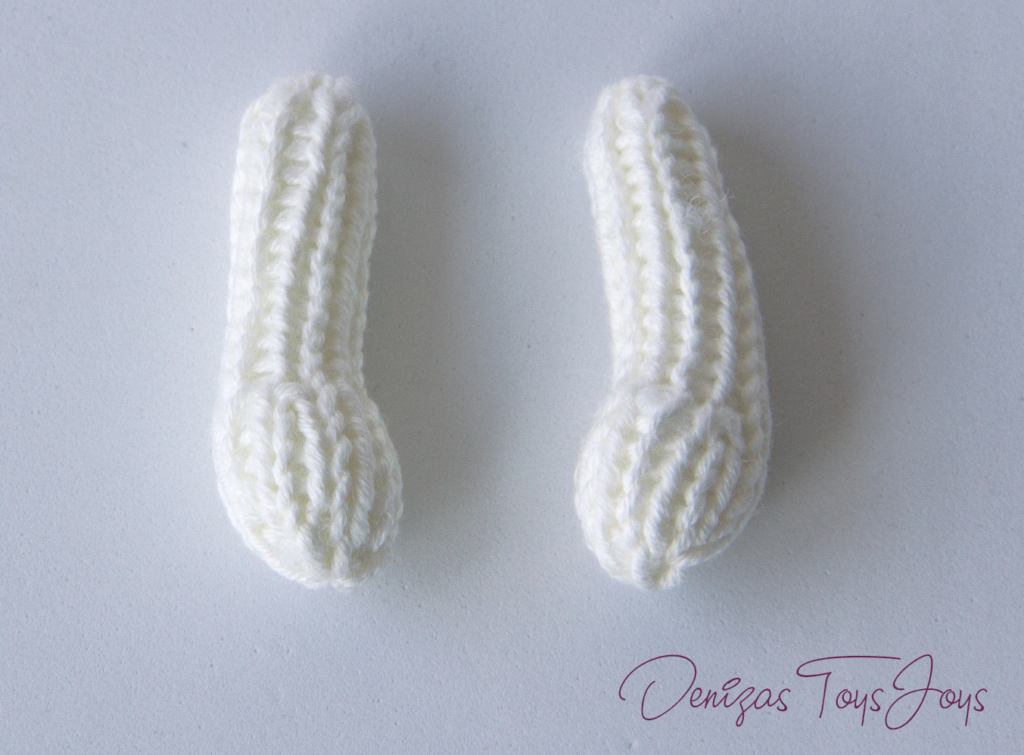
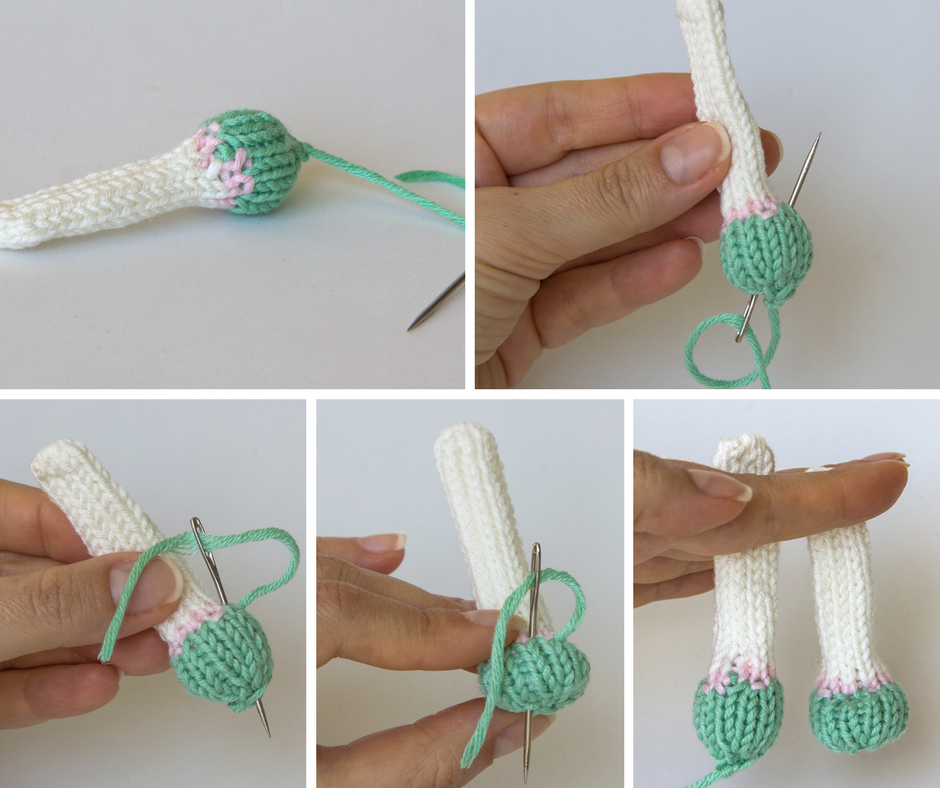
Legs (make 2 pieces)
Start with white yarn.
Cast on 8 stitches. Distribute among 3 needles and join to work in the round, being careful not to twist sts. Place marker.
RND1-16: 16 Rnds K all (8 sts)
Change yarn to pink.
RND17-18: 2 Rnds K all (8 sts)
Change yarn to green.
RND19: Kfb, K1 (4 times) (12 sts)
RND20-24: 5 Rnds K all (12 sts)
Stuff just the foot.
RND25: K2tog, K1 (4times) (8 sts)
RND26: K2tog (4times ) (4 sts)
Cut yarn and thread through 4 remaining sts. Weave in ends.
Ears (make 2 pieces)
Knitted flat. Work in garter stitch (knit all stitches).
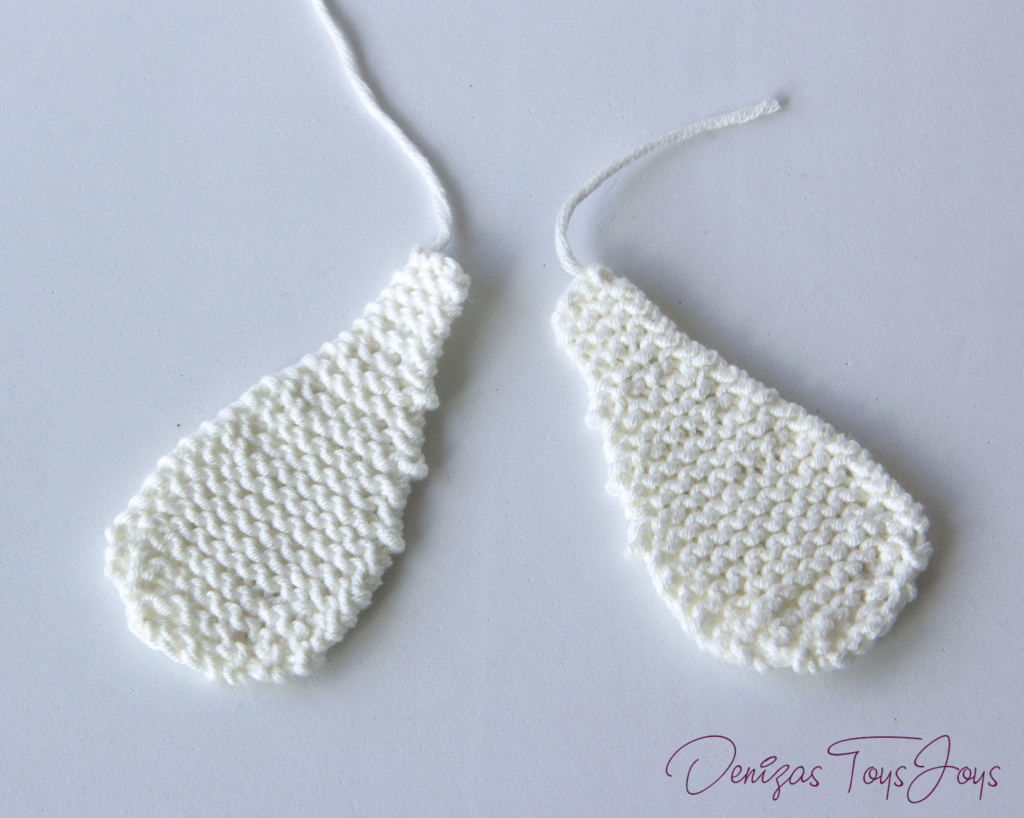
Knitted with white yarn.
Cast on 4 stitches.
Row1-10: 10rows K all (4 sts)
Row11: K1, Kfb, Kfb, K1 (6 sts)
Row12-16: 5 rows K all (6 sts)
Row17: K1, Kfb, K2, Kfb, K1 (8 sts)
Row18-22: 5 rows K all (8 sts)
Row23: K1, Kfb, K4, Kfb, K1 (10 sts)
Row24-33: 10 rows K all (10 sts)
Row34: K1, Kfb, K6, Kfb, K1 (12 sts)
Row35-36: 2 rows K all (12 sts)
Row37: K1, K2tog, K6, K2tog, K1 (10 sts)
Row38: K1, K2tog, K4, K2tog, K1 (8 sts)
Row39: K1, K2tog, K2, K2tog, K1 (6 sts)
Row40: K1, K2tog, K2tog, K1 (4 sts)
Bind off.
Assembling the parts and details
1. Mark the place for eyes.
2. Pin the ears on position and sew them to the head.
3. Put the arms in the sleeves and sew them to the body.

4. Shape the sole of the foot as shown at the photos below:
5. Sew the legs to the inner side of the dress.
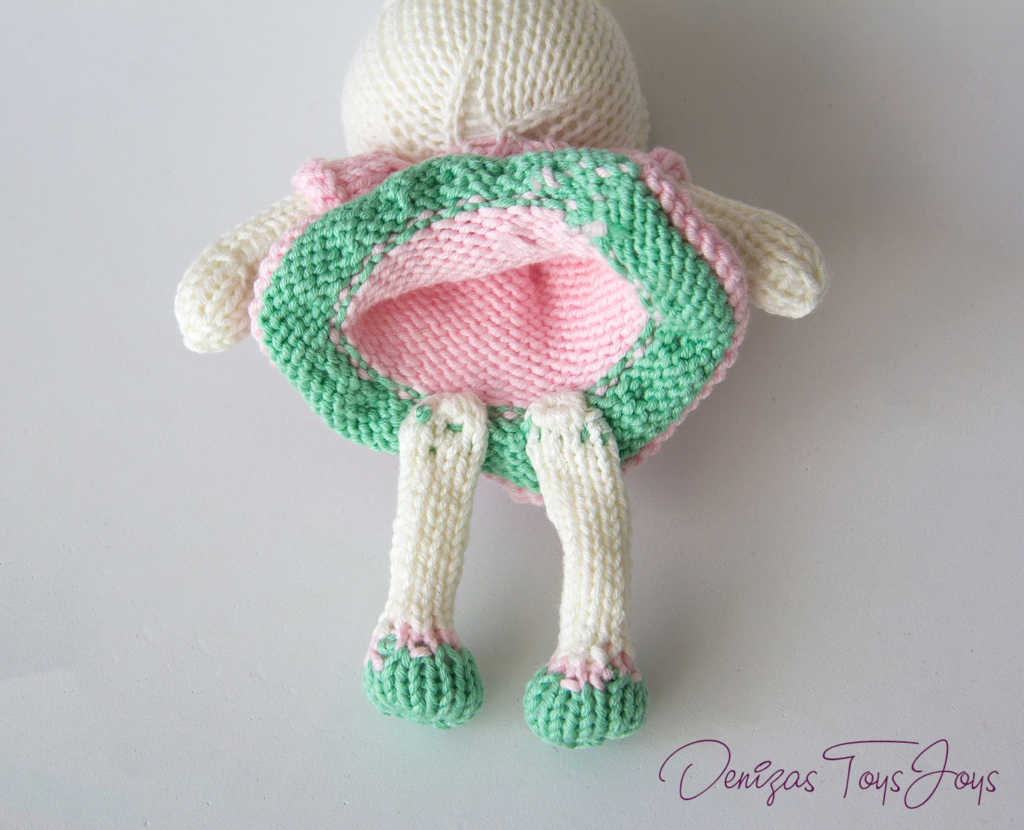
6. Sew the beads for eyes. Glue the plastic nose.
7. Embroider mouth and eyebrows.
Designer’s wish: Do not (re)sell, including translations to other languages; do not redistribute, including publishing on the internet. Please provide a link to my pattern store if you are selling your finished toys online. Thank you!
If you share your finished toys on Instagram, you can use the hashtag: #denizastoysjoys
Leave a Reply