
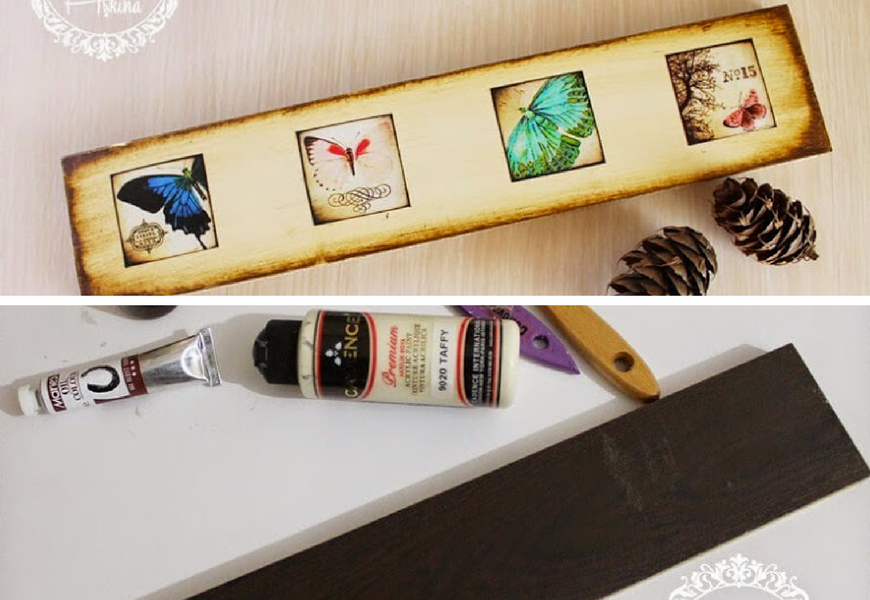
How to distress wood with oil paint? It’s not a tricky business if you’ve got the necessary materials and some patience. So let’s learn how to distress wood and apply decoupage on it. Let’s see the process step by step.
This is an old tutorial of a friend, Tiny Mini Design. Since it’s a timeless workpiece, I tried to translate it. Hope you’ll be benefited from this.
What we’ll need:
- A wood object we like to use
- A light colour acrylic paint
- 2 types of brushes (synthetic and hair)
- Paint oil, flax oil or smell free turpentine
- Dark brown oil paint
- Decoupage glue and a pattern
- Water-based varnish
- Sandpaper
- A piece of soft cloth
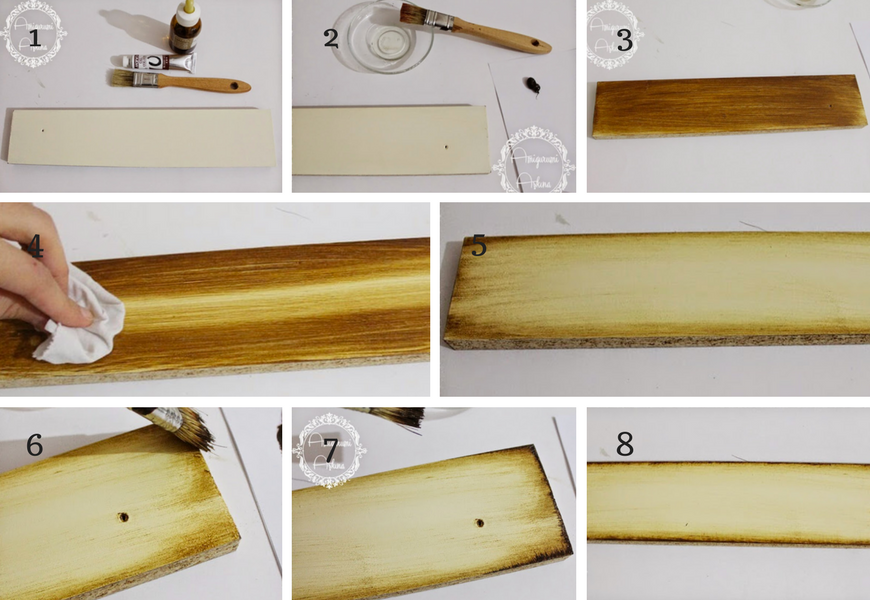
First, grind the object well. Wipe it with a cloth. Paint it with the light colour 2 or 3 layers. You need to wait for a little between layers.
Now, it’s time to distress. Gently thrust your hairbrush into the paint oil (or another equivalent). Touch it to a tissue, leave the excess on it, then brush it on the object. Swipe it in the same direction.
After this step, wipe the part of the wood we’d like to make distressed with the cloth. It’s up to you. Here, the middle part is almost completely distressed since it’s going to be decoupaged after. Then, sop the brush in the brown paint, press on a tissue and paint the object starting from the outer part to the middle (picture 6). You can play on it with the paint, oil, brush and cloth. When you get the result you wish, let it dry. Note this; oil dries hard, turpentine dries fast.
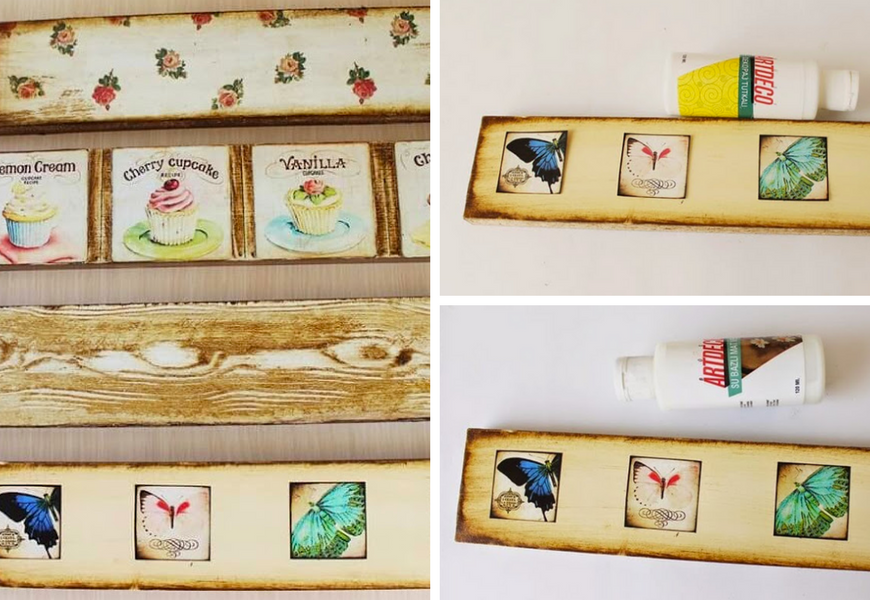
Now, it’s decoupage time. First, put some decoupage glue on the dried and cleaned wood object. Place the decoupage pattern neatly on it. Apply some decoupage glue on it again. After it dries up well, varnish the whole object.
To be more clear, I’ll post a detailed decoupage tutorial very very soon.
Created by Tiny Mini Design